Sunday 25 October 2015

(Eric Jung) design process WEEK 10~14

PROBLEM SOLVING

Week 10 presentation
(Problems found)


1) During the presentation the red light stopped glowing
(issues with RGB LED LIGHT)

&

and the light intensity was too weak 


2) The servo motor wasn't able to rotate the wing
(weak rotation power)


3) The model base wasn't stable


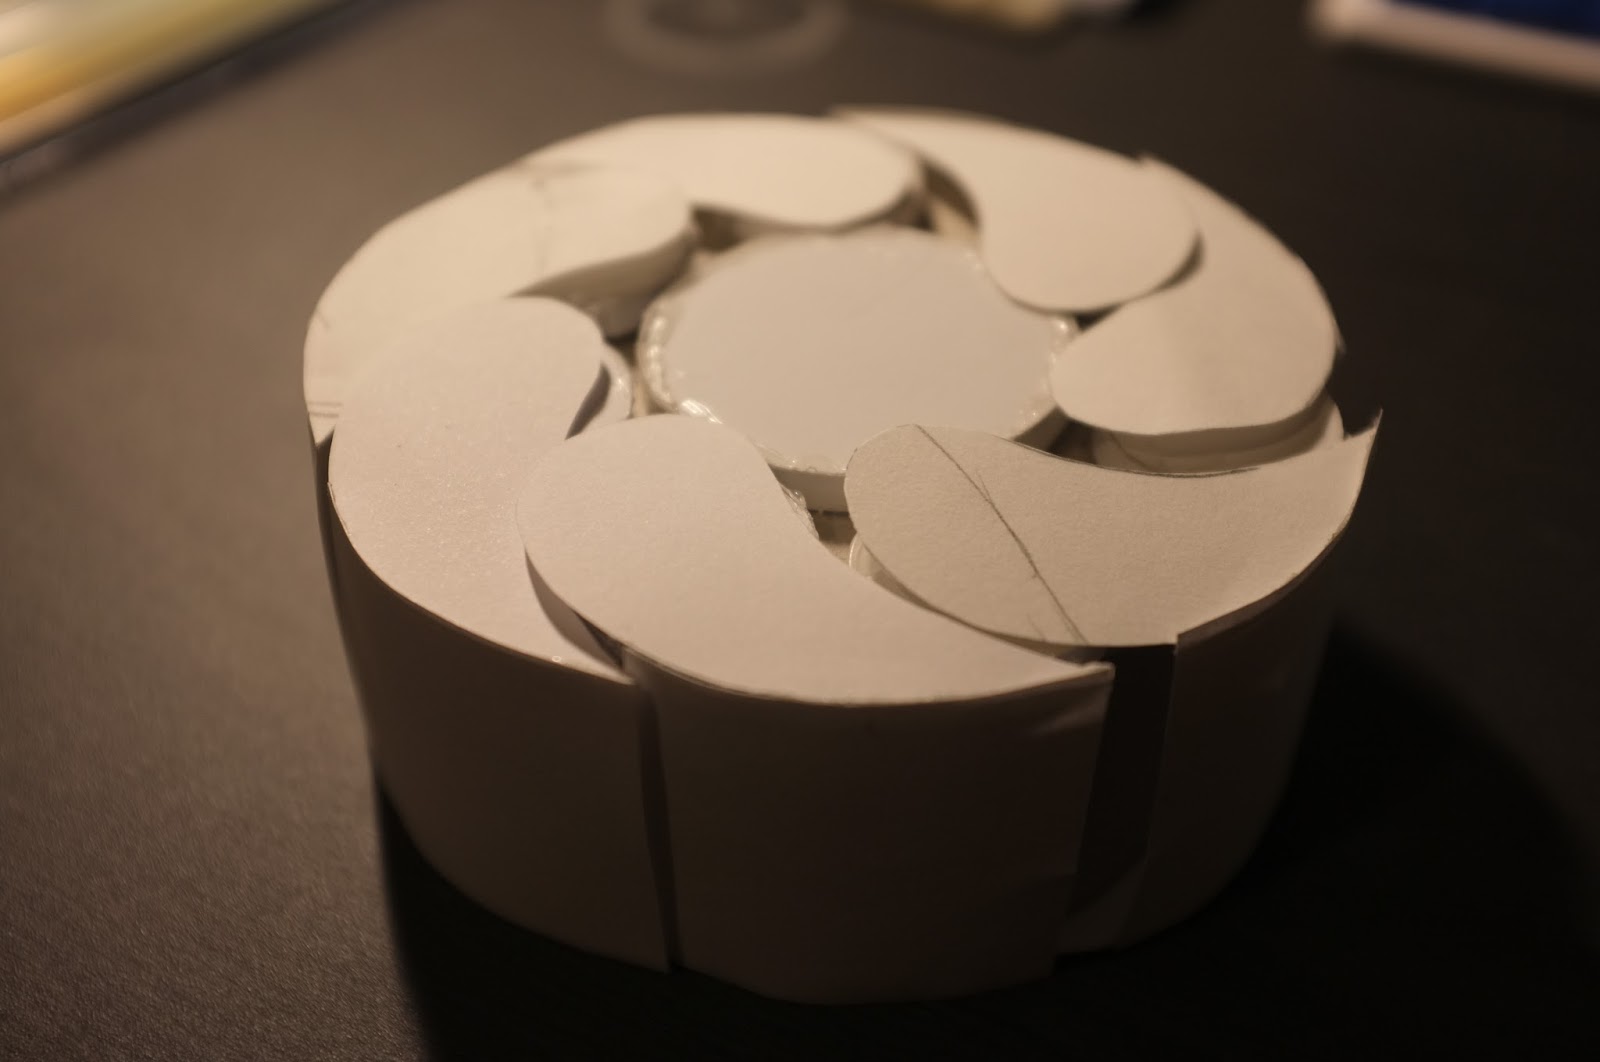
4) Friction between Top cover and wing 
(motor couldn't rotate the wings due to the Friction between top cover and wing)


due to the curved wing, as it rotates it lift up the top cover


5) aesthetic of the the product wasn't appealing


(First concept design)


(received feed back from peers  "doesn't look like a lamp... looks like a wooden block")


(Improving Design)


Aesthetic 


Experiment with using shoe wax to create wooden texture


Half of the shell  with wooden texture 
(planning stage)


Testing


(Improving Design)

Functionality


(silicon rubber feet - self adhesive)


attached on the model to test out the stability 


Friction testing (stability)


(Improving Design)


Old structure design

New structure design
specially designed to reduce the friction between wing and structure
&
also added in the fillet to increase the stiffness / rigid-ability


Model making
(new design)


Reprinting the new parts
(3D printing the shell cover)


(Assembling)


 assembling reprinted parts


 assembly Testing


over view of the final model


(Painting)

painting shoe wax on the parts with paint brush


After shoe wax is all dried it was been coated with nail polisher to have glossy finish


After adding shoe wax on to the 3d printed parts, the sticky tape was removed to create clear separation line on the shell cover (half wood texture / half white plastic)


(Functionality Test)

Added led light inside to visualize the lighting quality


Fully Functional model


3D Degital model
(Hero shot)


NEW Design


OLD Design


1) Aesthetic has been improved

2) Remade the structure + gears in side the model has been remade to reduce the friction

3) Designed to be easily customized


Video Making


(Planning stage)

group decided to make a funny video to draw attention to the audience
(fun and more engaging)


Presentation board


Final Presentation Video


Tuesday 22 September 2015

WEEK 10 Interaction Design Video


Interactive Model Design Video


 Complete unedited interaction sequence 


-Darcy Storr

Arduino presentation video


The 4-7-8 breathing exercise
When you start blowing microphone will register you breath intensity level and will show it using the leds, as soon as you start blowing a count down to 4 is initiated and when you hear the "beep" sounds stop blowing. A count down to 7 will be initiated where you will inhale this time until you hear a "beep"sounds. As soon as you hear it exhale for a count down to 8 then you will hear a "beep" sound again. Do this set 4 times before going to bed

Note the more you practise this exercise the easier and the longer the effects will be.


Sunday 20 September 2015

Eric Process Work (System design & Concept Development)


Experimenting with Arduino .1

Controlling Servo motor with potentiometer


(was able to control the rotation of the servo motor with precision)


--------------------------------------------------------------------------------------------------------------------------


Prepare to sleep
User physical intersection point
(Story board)


There is three physical intersection point 
-Turning on the bed side lamp
-Turning off the room light
-Turning off the room light after set up the bed and lie down

Pain points

-have to find the small lamp switch in dark environment
-twisting back to turn off the lamp light


--------------------------------------------------------------------------------------------------------------------------


Possible System Design
Concept IDEA - Automatic bedside lamp


current problem- user have to go back and forth to turn on the lamp light and turn off the room light.

by making the bedside light it makes user to go to bed without going back and forth to activate/deactivate the lights.


Arduino Input & Output

by using a photo resistor it was possible to activate the bed side lamp to turn on automatically according to light intensity 

Room light (off) -> Photo resistor detects light intensity (dark) -> Turn on the lamp


Input

User switch off the room light to go to bed (Room light off)

Output

Light on + Lamp cover open (motion)


--------------------------------------------------------------------------------------------------------------------------

Experimenting with Arduino .2

(controlling the rotation of the servo motor with photo resistor)


Input - Room light (off)
Output - Servo motor rotates according to the light intensity


this system can be  good solution for my product (lamp) so it's can be operated fully automatic so that user don't have to walk back and forth to turn on the lamp and turn off the room light  


the lighting can be also be included so motor and the light
moves & turns on at the same time


--------------------------------------------------------------------------------------------------------------------------


Experimenting with Arduino .3

(getting a feedback by using a ultrasonic sensor)


detects object/movement --- (Red light turns on) 


if there is not object/movements is detected --- (green light turns on)


- Will be a good option to add ultrasonic sensor to trigger the device so the light can be also turned on by user interaction (hand gesture)


- it can be good solution to provide better intersection with product
( User don't have to find the small switch button to turn on the light at night time )


--------------------------------------------------------------------------------------------------------------------------


Model Making .1
(Concept development)


Creating movement with Gears
( testing gear sizes & overall product sizes )


1:1 scale drawing for the gears

( possible internal layout - section view )


1:1 scale drawing for the gears and wings(covers)

(top view)


---------------------------------------------------------------------------------------------------------------------


Model Making .2
(Concept development)


1:1 scale cardboard model
(Gears, Wings)


Testing to see if the wing can close and open properly


Section view of the product (1:1 scale drawing)


---------------------------------------------------------------------------------------------------------------------


CODING ARDUINO


Photo resistor activates LED when surrounding gets dark
-
-
LED glows YELLOW
-
-
Servo motor rotates anti-clockwise
-
-
LED colour changes YELLOW to RED
-
-
Servo motor rotates clockwise
-
-
when movement is detected by ultrasonic sensor 
it activates the whole device again
-
-
when photo resistor detects enough light it shut down
the whole device
-
-
Serveo goes back to normal position
-
-
LED turns off


video file wasn't able to uploaded 
blog allows video size 100 MB max

(video size for interactive model 300 MB) 

---------------------------------------------------------------------------------------------------------------------


Model Making .3
(assembled 3D printed parts)


Fully functional 3D model


Servo motor/Photoresistor/ultrasonic sensor/LED
will be installed inside the interactive model


---------------------------------------------------------------------------------------------------------------------


Model Making .4
(assembled 3D printed parts with arduino)


When all 5 shells are attached, the servo motor wasn't able to provide enough power
to rotate the gear to open all 5 shells at the same time

Therefore all the shells were removed except one


Fully functioning


Manually rotating the shell to show the overall aesthetics and movement


---------------------------------------------------------------------------------------------------------------------

Eric (Reading Reflection)

Reading

The Messaging Kettle

Margot Brerenton


This is a useful reading where it showed how users can obtain social communication and connection while using habituated object / product during the existing ritual. However, I cannot stop wondering if “design” is to create something new for a better life where users are required to learn the new operation. This is interesting when designing for the elderly in particular, how they incorporate new product into user habituated product without the need to learn how it should function.

However, I found that the product described in the reading was over focused on one criterion without much consideration on the suitability of the environment (context) as well as aesthetics. I understand that product aesthetics might not be as important in some cases, but an attractive product should be able to gain more acceptance even for older users. As designers, I think it is very important to keep the balance between different criteria, and the use of prototypes is a great way of gaining valuable feedback from the intended users. Many designers have put their focus on making a detail and comprehensive prototype for user experience testing, however, it is the feedback that makes everything matters. A well structured survey and exploration are required or the prototype would mean nothing to the design development.


Reading
Greenfield, A. (2007). On the ground running: Lessons from experience design

This is a great article that allows students to explore the trend in product design. When I first started studying industrial design, I knew nothing more than creating a nice form of objects that are useful for anticipating users in specific scenarios. As the world evolves where people precious experience rather than mere possession of an object, design needs to extend to a larger context where the user experience should be incorporated every stage of the product life-cycle. IPod was a good example. The product is more than the user listening to the music using the device but also the experience with other services that it interwoven with. As the author suggested, "The product is no longer an isolated entity, but a way of gaining access to content which might ultimately live elsewhere”. This is very inspiring indeed. Although we used the prototype to test operation and user perception during this semester, more throughout considerations should be made in terms of the possibilities for the product to link to other interaction or services. It will be very interesting to explore how far can my product lead to.

In my early years of studies, I have learnt to storyboard scenarios and consider the user experience at different stages. However, when it comes to experience design described by the author, I found that it is a much broader field which cannot be achieved by a single designer but as a whole business. Designers may be able to specify every single detail of uniform but not the behaviour of the person in the uniform even though a beautiful and comfortable uniform certainly will have effect on how the staff behaves. If any aspect fails, the whole thing falls apart.

Another inspiring point that the author made was about “control” in experience design. As designers, we often think that we have done throughout research and analysis to understand what the user really needs to set out the experience for them. Maybe it is time for us to think about giving consumers more control and design with “less”. Examples such as the Fun Palace and “non-plan” architecture suggested that community is able to find their most suitable mode of spatial expression with open design, leaving control to the individuals rather than designers can create a more intimate expression and experience. Another great example the author used was the internet, we have evident how the “loosely joined” system opens up infinite opportunities for users to customise their own experience. It is not just about the sale of a product but, how long can the product stayed wanted and loved.

I agree that we all have the ability to design for our own. We design our rooms, we arrange things on shelves, we select our own meal and clothes and everything else. We can configure the best experience within a provided framework. It will not be easy for designers to find a good balance of “control” and “freedom” but I am sure that it will be a strong determinant of the success of a design project.

Reading
Designing Interactions. Chapter 10: People and Prototypes
Bill Mogridge
The reading addresses the use of prototypes to understand user experience, investigate ideas and communicate design concepts. The interactions design prototype described in the reading is pretty much what we did during the semester, using simple mock-ups and Arduino electronic circuits that contain some code to stimulate behaviours and interaction. This helps to visually communicate the design concept with others but also identify relevant constraints.
I agree that there are no better ways to understand perceptions, circumstances, needs and desires of the ultimate users than make a prototype, it also helps to test how it differs from the design intent. But in the early stage of the design process such as research, story boarding and personifications are equally important. Four steps that IDEO methods cards suggested seems obvious but I found that not many student designers have followed the path carefully enough. Very often people jump into assumption and design something they want rather than is needed. In the materialised world, we designers have the obligation and responsibility to design for a better future but not creating more permanent garbage that fills up the landscape.

When the author says that it is very difficult to be a good designer without having a big ego. I kind of agree and disagree at the same time. As designers, we need to have an ego to make objective judgement and decisions. However, at the same time, we need to know when to put the ego aside to be able to understand user needs subjectively. That is why the author suggests all designers should understand anthropometrics, physiology, psychology, sociology, anthropology and ecology, as the role of designers are more than doing creative sketches and drawings but to solve problems, translating real user needs into the design solution.

WEEK 10 Prototype Interactions

There's still a few issues to work out in the code, mainly regarding the anti-clockwise rotation speed when the object contracts. I may also need to calibrate how sensitive the photoresistor is, and adjust the threshold for when stretches are performed incorrectly.


Components I've used in the circuit

Photo-Resistor 
This senses light from morning sunshine entering the room, and acts a switch for the object to begin moving.

Ultrasonic Sensor
This is used to determine proximity and position of arms stretching towards the object


Servo Motor 
This rotates 45° to expand and contract the fan segment

Piezo Buzzer
This plays 4 unique tones;
Tone 1- Indicates when a correctly performed stretch has begun
Tone 2 - A counter tone indicates how long to hold the stretch for
Tone 3 - An alert tone if a stretch is performed incorrectly
Tone 4 - A celebratory tone for when a set of repetitions is performed

This is the stretch being performed. The user stretches their arms towards the objects sensor, which is mounted on the wall facing them.


-Darcy Storr